


Tile floor installation can transform any room, adding a touch of elegance, durability, and ease of maintenance to your space. Whether you’re working with ceramic tile, porcelain, or natural stone, the process requires careful planning, precise execution, and attention to detail. At DECO Flooring in Austin, TX, we understand the intricacies of installing tile floors, and we’re here to guide you through the process step by step.
Preparing for Tile Floor Installation
Before laying the first tile, preparation is key. Start by measuring your space to determine the amount of tile you’ll need. Mark the center points of the room to ensure your tile layout is symmetrical. Using a chalk line, snap a grid that will guide your tile placement. This grid will serve as your roadmap, helping you avoid crooked lines and ensuring a professional finish.
Selecting Your Tile
Choosing the right tile is essential. As a leading tile flooring store in Austin, we offer a wide selection of ceramic tile, porcelain, and natural stone to suit any design preference. Each material has its own unique characteristics, so consider factors like durability, moisture resistance, and aesthetic appeal when making your selection. Always follow the manufacturer’s recommendations to ensure your chosen tile is suitable for your specific installation environment.
Laying the Tile
With your preparation complete, it’s time to start laying the tile. Begin at the center of the room, working outward toward the walls. This approach ensures that any cut tiles are at the edges, creating a balanced look. Spread the adhesive using the flat side of the trowel to achieve an even coat, then use the notched side to create ridges. These ridges help the tile adhere more securely to the floor.
When you lay the tile, press it firmly into the adhesive, giving it a slight twist to ensure full contact. Tile spacers should be used to maintain consistent grout lines between each tile. This not only improves the aesthetic but also ensures that the grout is applied evenly later in the process. Use a rubber mallet to gently tap the tiles into place, especially if you’re working with thicker materials like natural stone.
Cutting and Fitting Tiles
As you approach the walls or any obstacles in the room, you’ll need to cut tiles to fit. Use a tile cutter or a wet saw for precision cuts. Always measure twice before cutting, as mistakes can be costly. When installing tile floors, especially with intricate patterns or around corners, taking your time to ensure accuracy will pay off in the final appearance.
Applying the Grout
After the tile has been laid and allowed to set for 24 hours, it’s time to apply the grout. Mix the grout according to the manufacturer’s recommendations, ensuring it has a smooth, peanut butter-like consistency. Using a rubber float, spread the grout across the tile surface, holding the float at a 45-degree angle. This ensures the grout is pressed firmly into the spaces between the tiles.
Work in small sections, and once the grout has been applied, use the float to remove any excess grout from the surface. After the grout has started to dry, usually about 15-30 minutes, use a damp sponge with clean water to wipe away any grout haze on the tile surface. It’s important not to use too much water, as this can weaken the grout.
Finishing Touches
Once the grout has fully cured, which typically takes 24 hours, you may notice a slight haze on the tile. A grout haze remover can be used to clean the tile surface, restoring its original shine. This final step ensures your new floor looks pristine and is ready to impress.
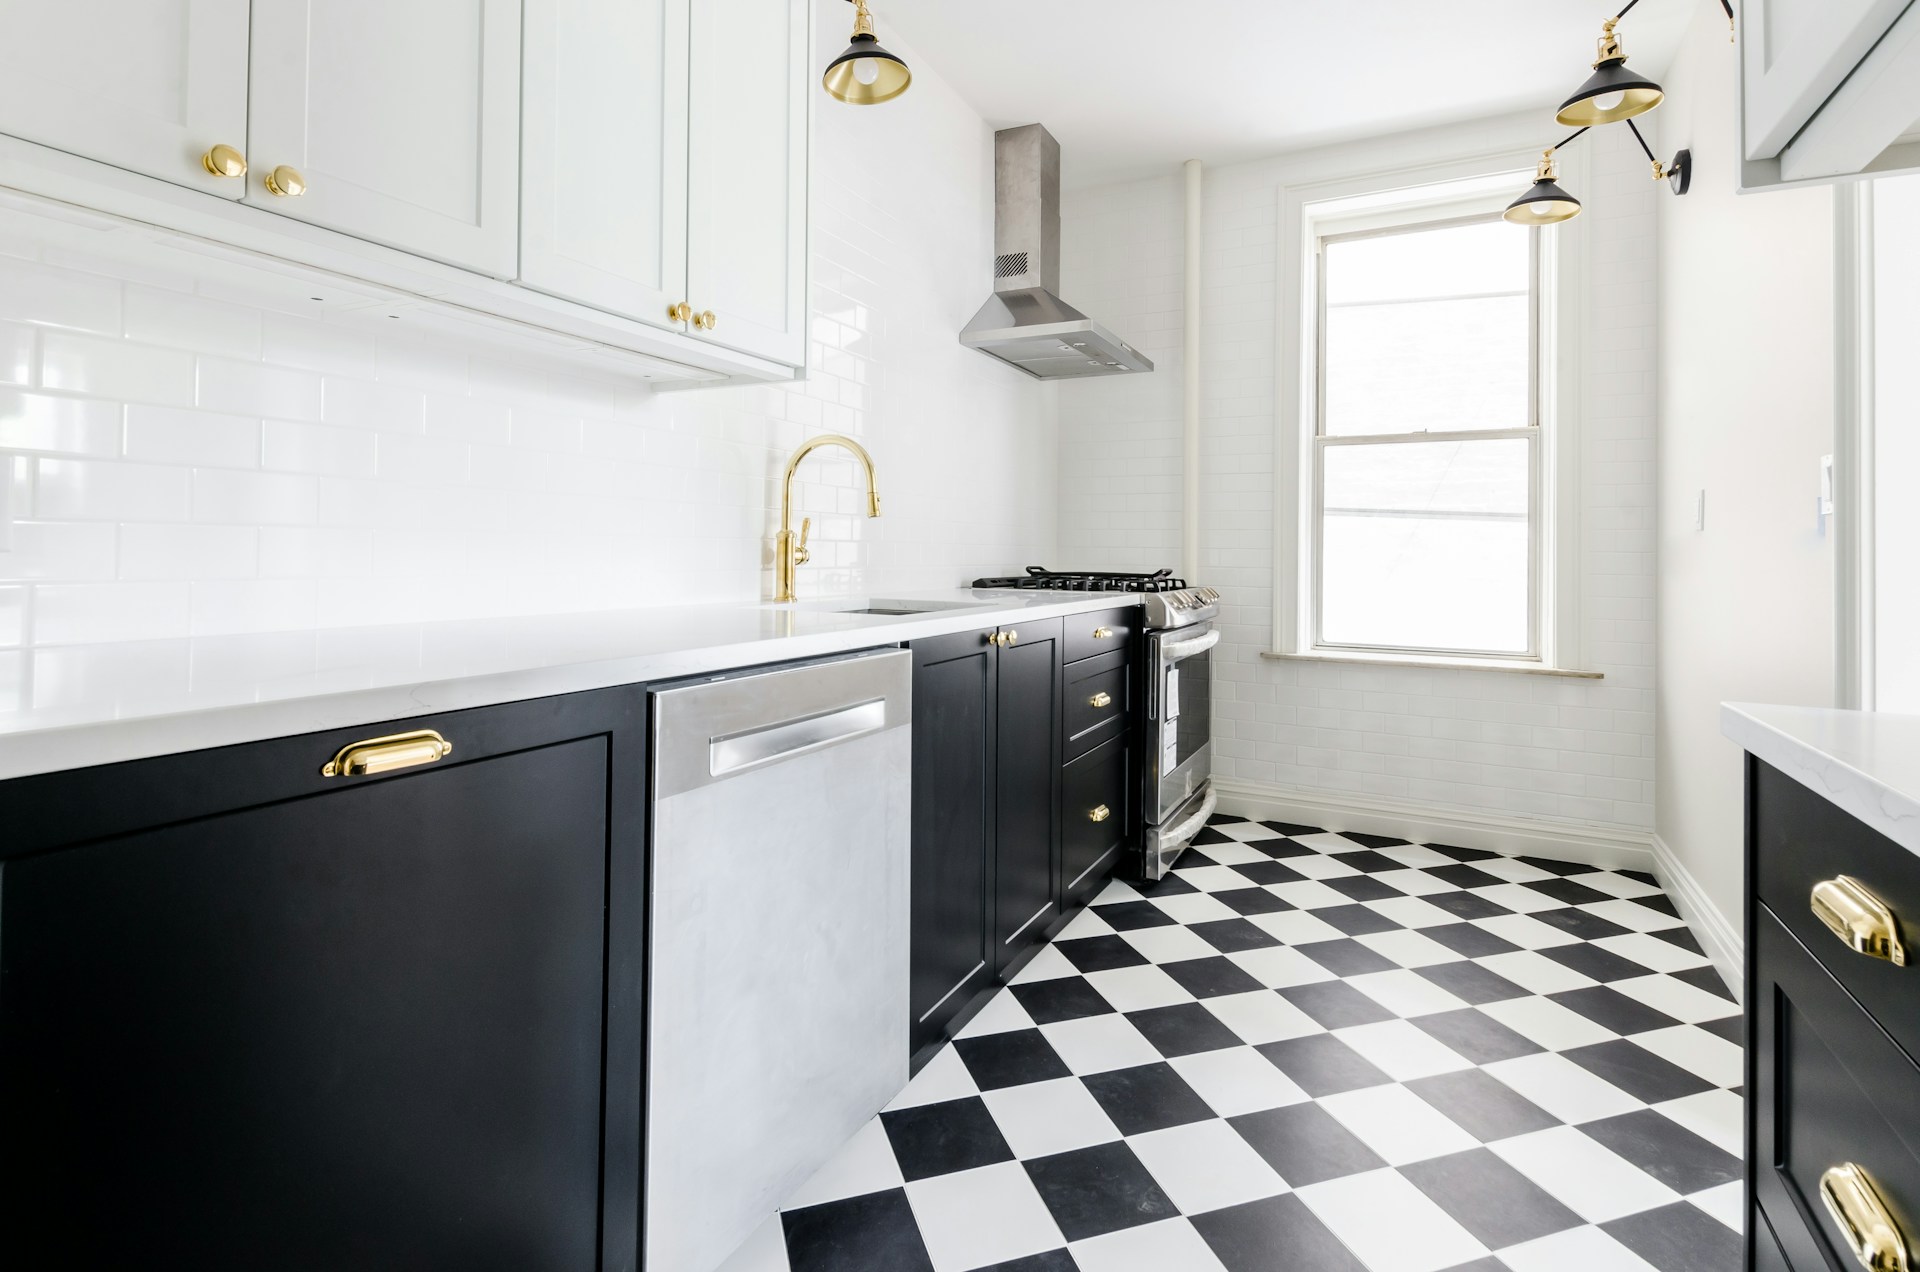
If you’re installing tile floors in areas prone to moisture, such as bathrooms or kitchens, applying a grout sealer is a wise precaution. This additional step helps protect the grout from stains and prolongs the life of your floor.
Tips for a Professional Finish
- Start from the Center of the Room: Begin tiling from the center of the room, using your chalk lines as a guide. This method ensures that any cut tiles will be along the walls, resulting in a more balanced look.
- Use Tile Spacers: Consistent grout lines are crucial for a professional finish. Tile spacers help maintain even spacing between tiles, which is essential for both appearance and durability.
- Don’t Rush the Drying Process: Allow the adhesive and grout to set and cure fully. Rushing this step can compromise the integrity of your installation.
- Follow Manufacturer’s Recommendations: Whether it’s the type of adhesive, grout, or sealer to use, always adhere to the manufacturer’s recommendations to ensure the best results.
- Careful with the Grout: When applying the grout, be mindful not to overfill the gaps. Excess grout can be difficult to remove once it hardens, and it can also detract from the clean lines of your tile installation.
Common Mistakes to Avoid
- Ignoring Center Points: Skipping the step of marking center points can result in an uneven layout that is noticeable and unattractive.
- Using Too Much Adhesive: Over-application of adhesive can cause it to ooze up between the tiles, which can interfere with the grout lines and create a mess.
- Not Cleaning Excess Grout Immediately: Leaving excess grout on the tile surface for too long can lead to grout haze that’s difficult to remove later.
- Forgetting to Allow for Expansion: Tiles, like all materials, expand and contract with temperature changes. Make sure to leave a small gap at the edges of the room to accommodate this.
Tile floor installation can be a rewarding project that significantly enhances the value and appeal of your home. By following these guidelines and taking your time to plan and execute each step carefully, you can achieve a professional-quality finish that you’ll enjoy for years to come.
Remember, DECO Flooring in Austin, TX, is here to provide all the materials and expert advice you need to complete your tile flooring project with confidence. Whether you’re tackling a small bathroom or a large living area, our team is ready to assist you every step of the way.